🕹️Quick Start Guide
For all those who want to quickly create a profile and get started. We will be creating an offensive gather profile, with a ground mount, two professions (Skinning and Herbalism) and a vendor event.
The goal of this guide is to quickly create a profile with all the essential settings and events. Default settings are not explained in detail. For detailed information on individual settings, please use the corresponding guides.
The procedure for creating a profile, rotation or event is the same for each game.
Index
Preparations
In this guide, we assume that you have already done the following:
You already have a license (Trial or Full).
Creating the Profile
Open the game, log in and enter the world.
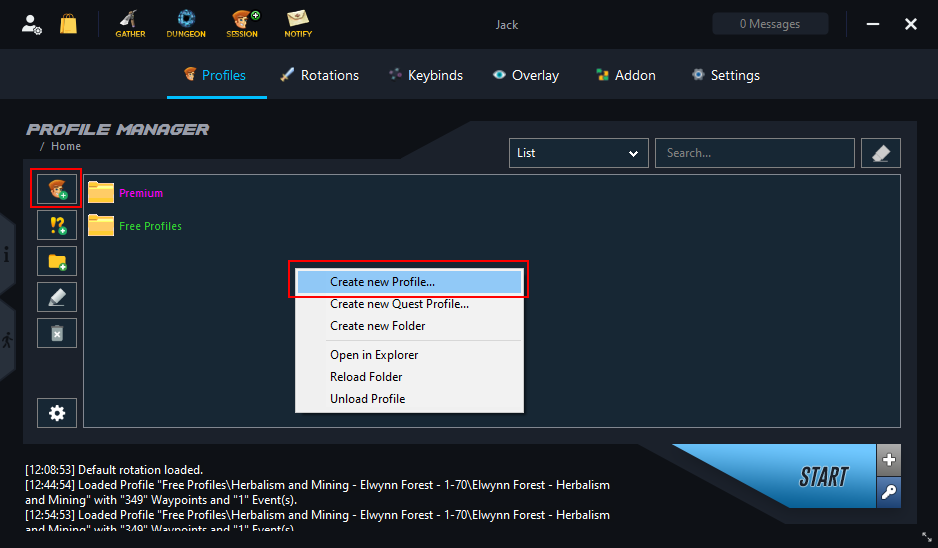
Open your Profile Manager and click on the left button. (Alternatively, you can also right-click to open the context menu.)
After the Path Manager has opened, we only need the tools marked here:
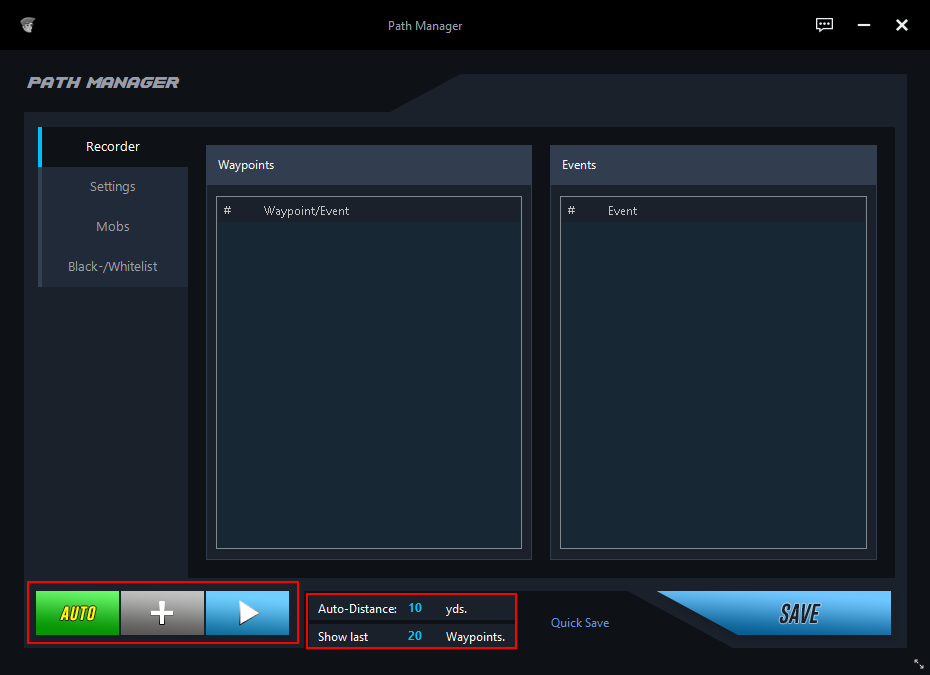
Set the "Auto Distance" to 20 yards.
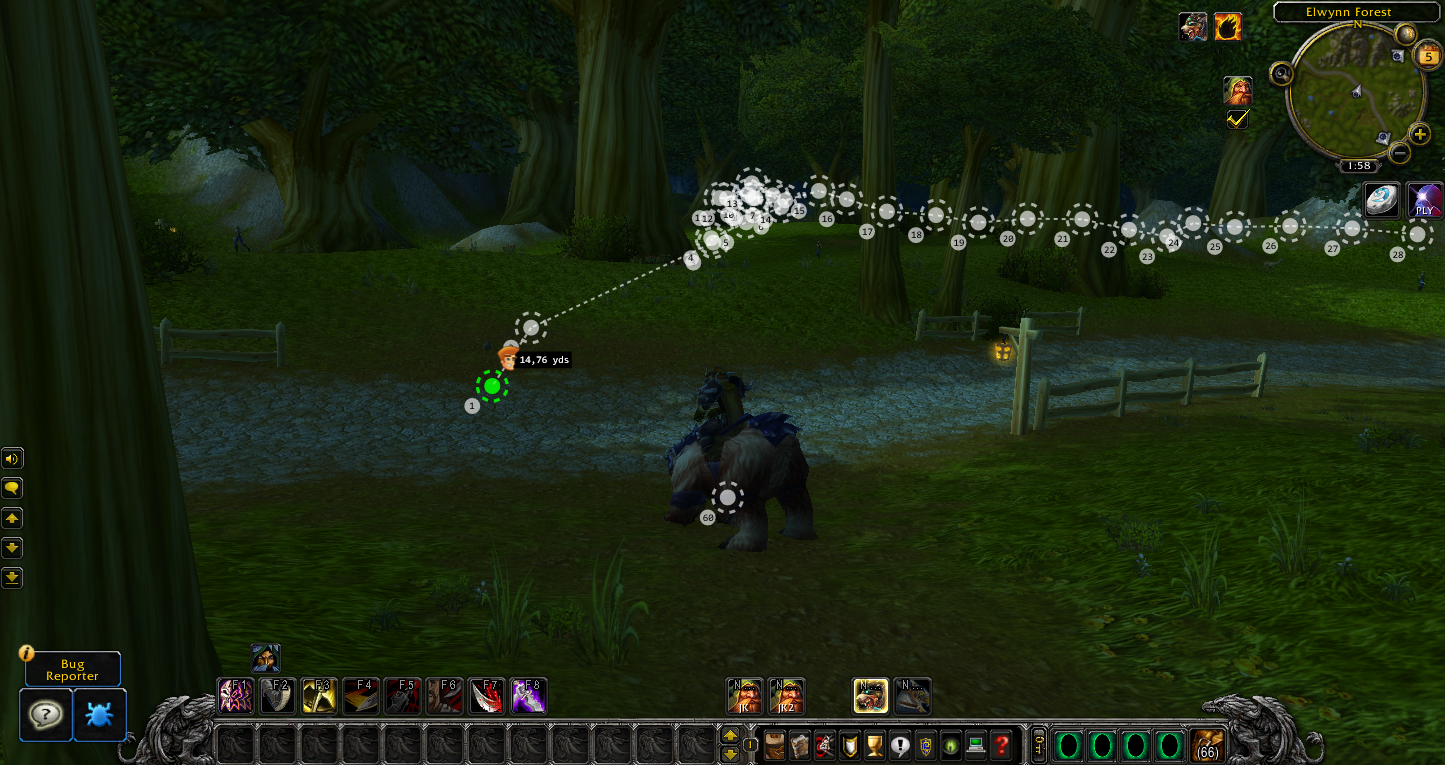
Set "Show last Waypoints" to 100 or more.
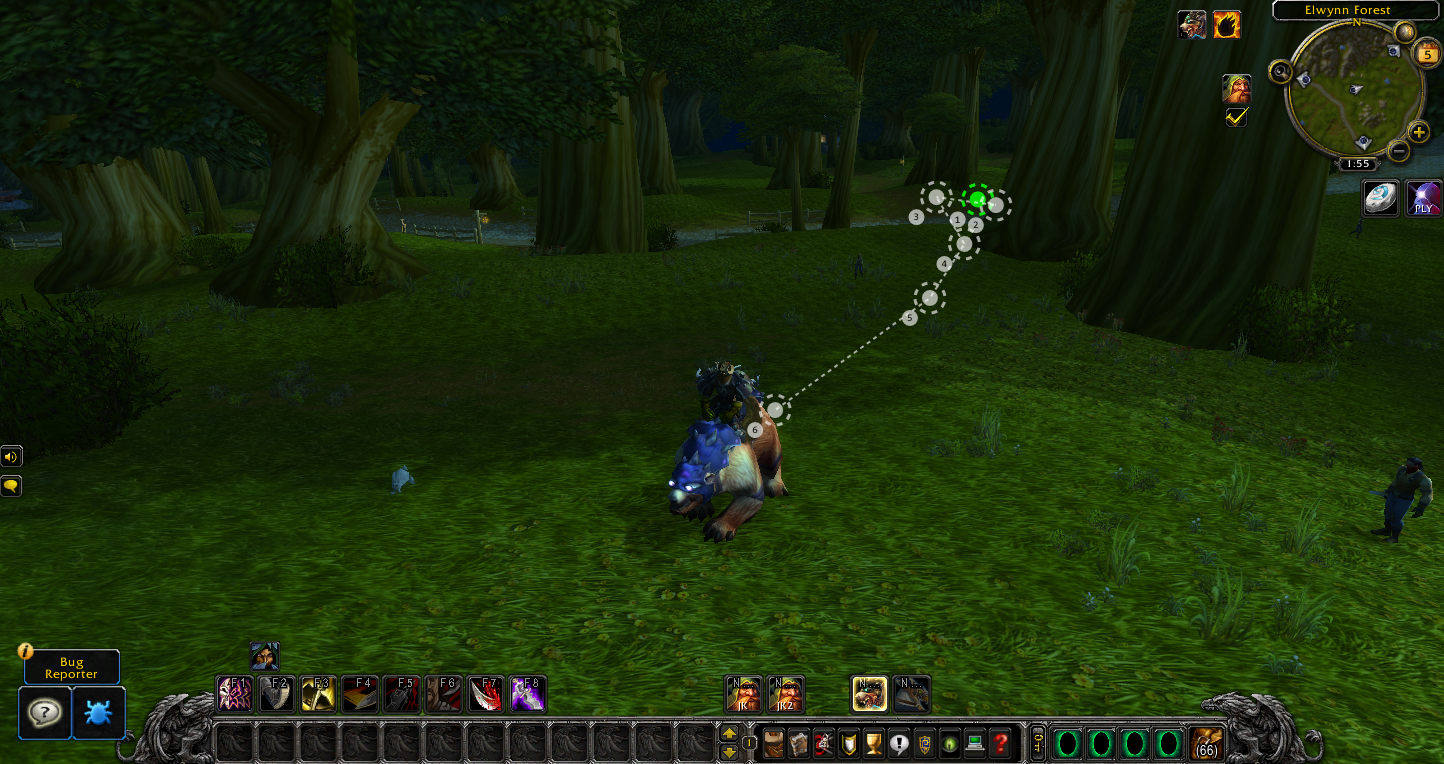
Position your character where you want to start your profile.
Press "Play" to record your profile.
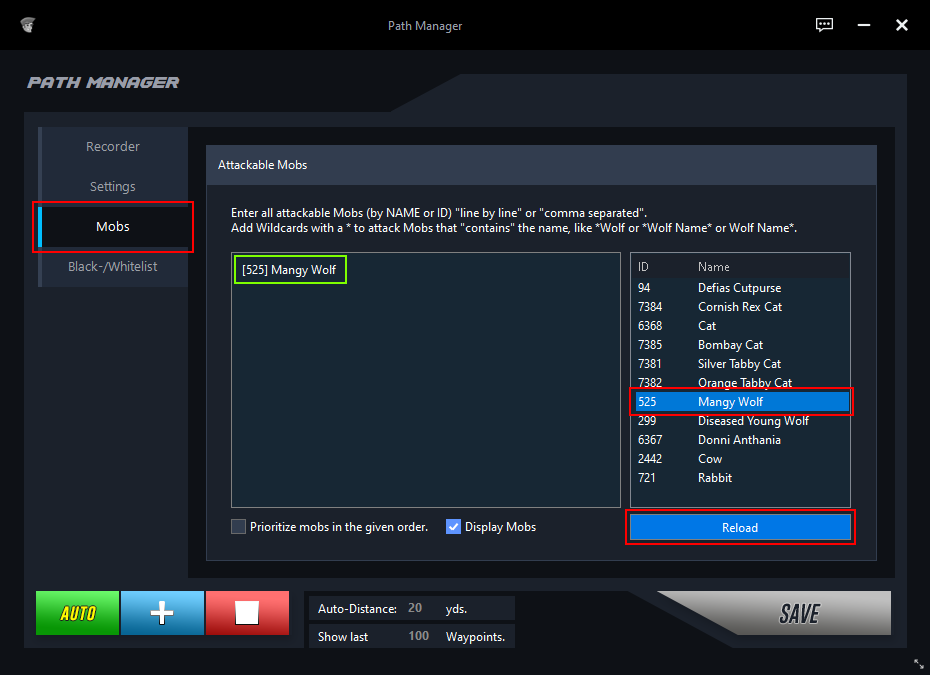
In parallel, we add all the mobs we need for gathering skins.
This can also be done later. That way we don't have to walk twice.
Open the tab "Mobs" and click the "Reload" button.
Double click the mobs you want to add to your moblist.
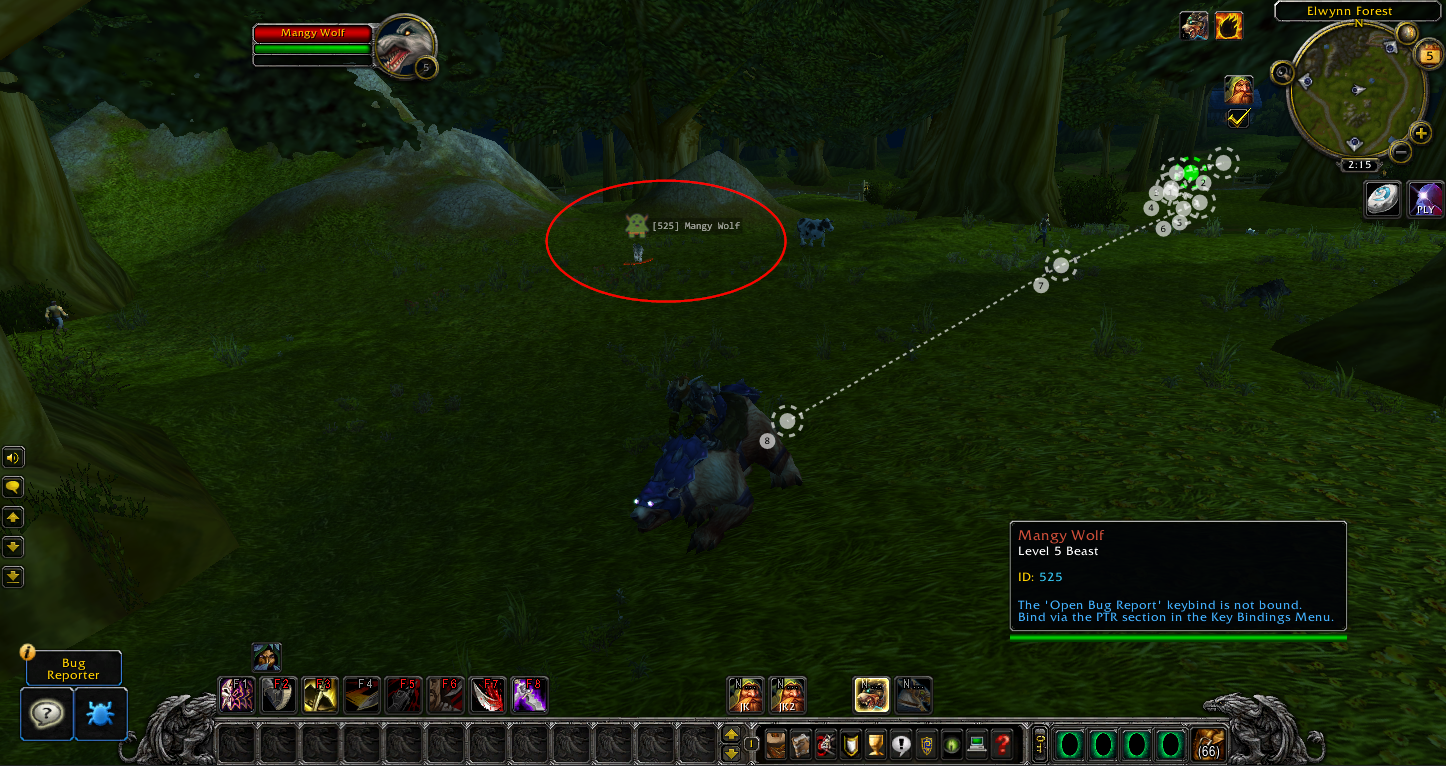
After we have completed our lap, we end our recording by clicking on the "Stop" button.
Adding a Vendor Event
You can also do this step while recording.
For this guide, we'll finish recording completely first.
Go to a vendor of your choice and target them.
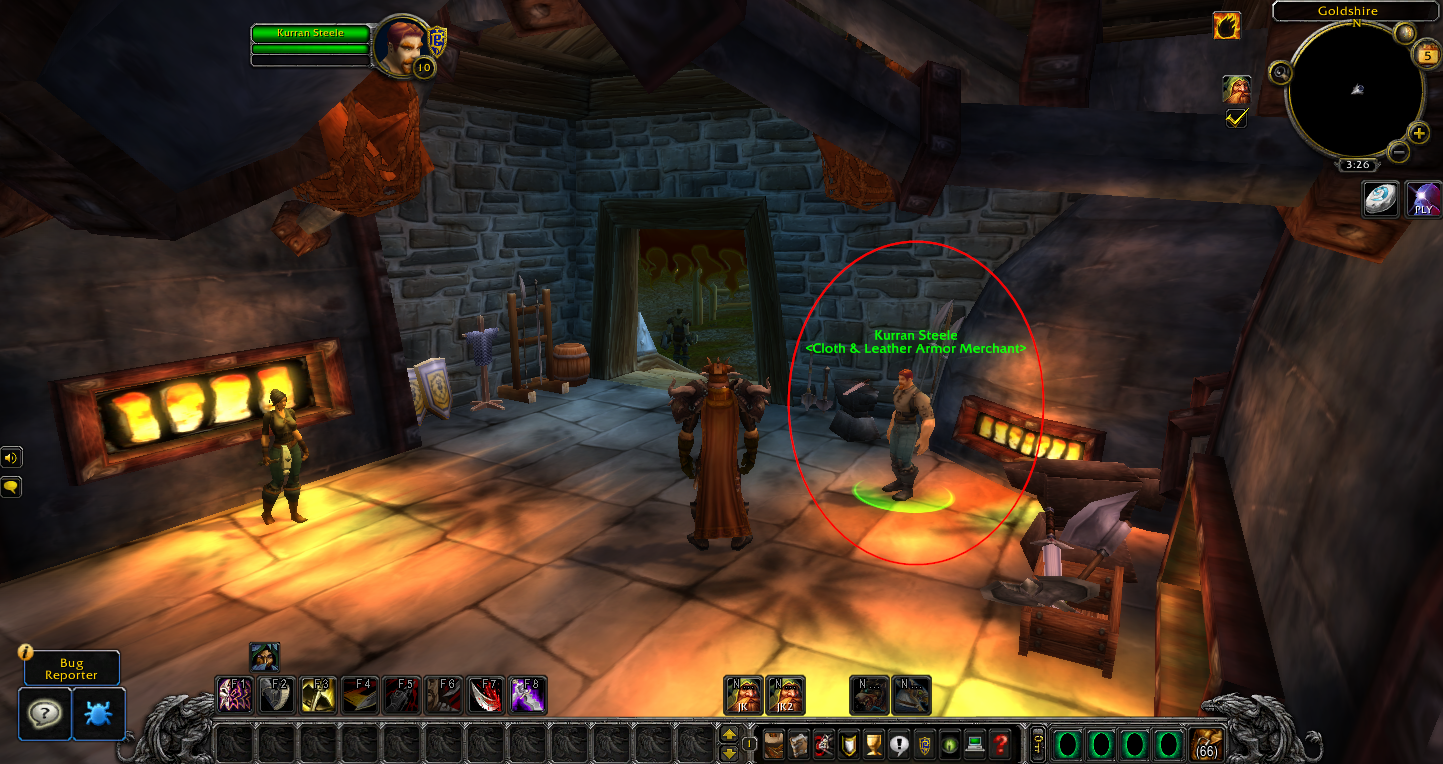
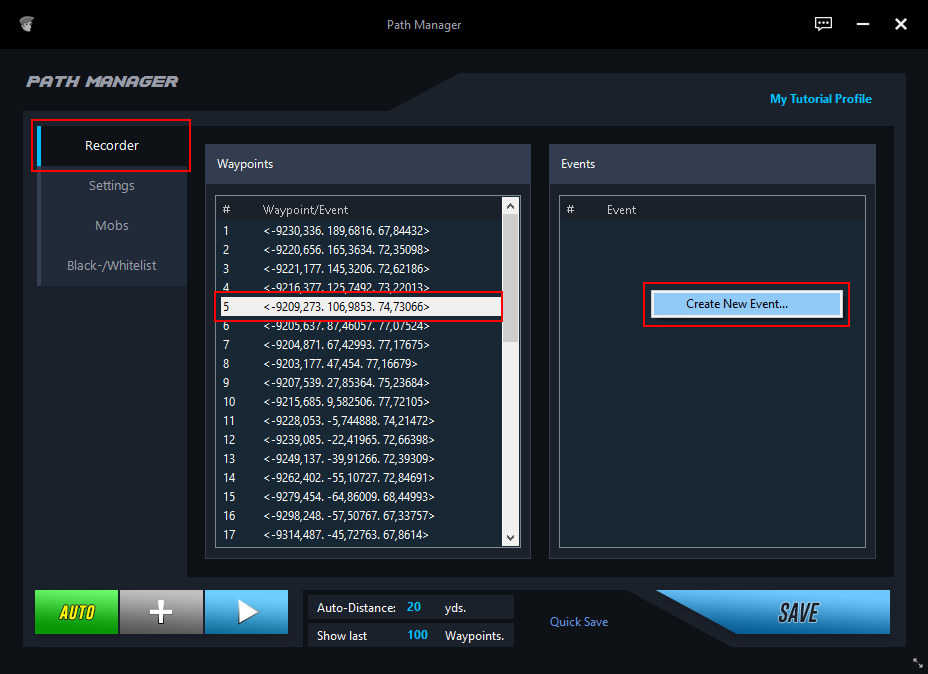
Select the "Recorder" tab again.
Select a waypoint (any).
Right click in your "Events List" and choose "Create a new Event".
After the "Event Manager" has opened, we click on the "Plus" button on the left to confirm our target.
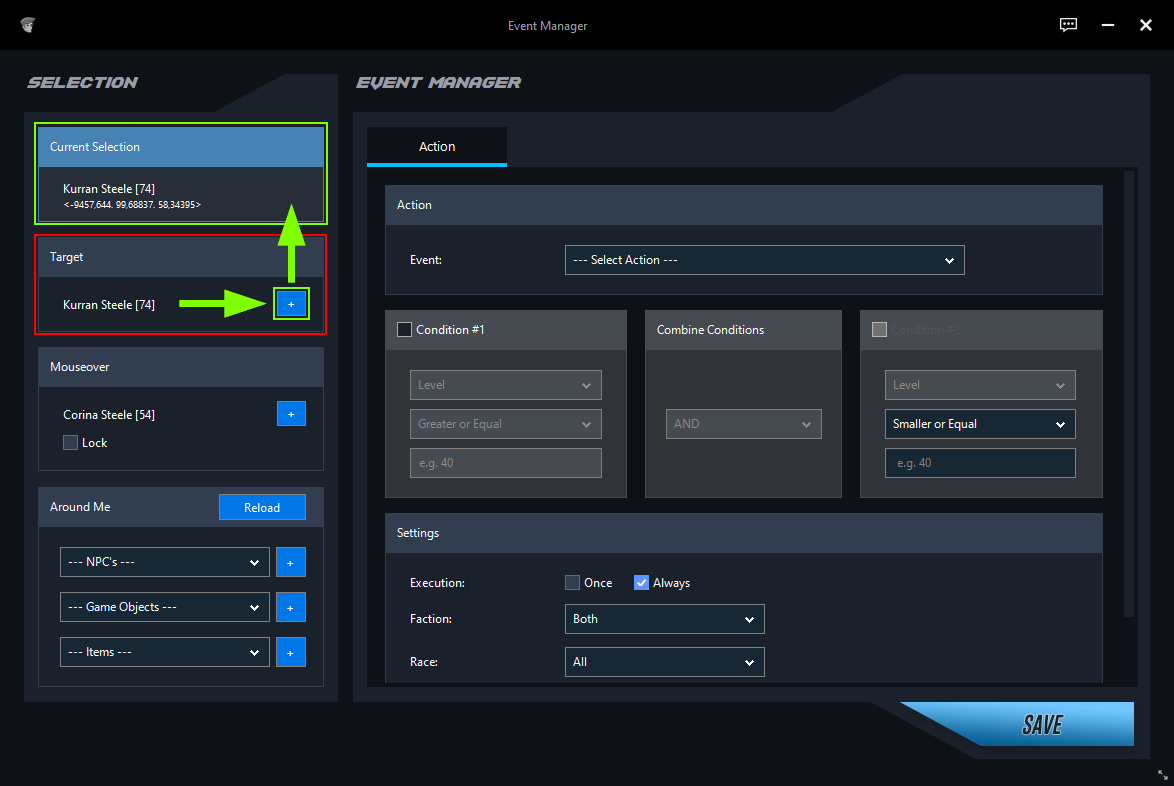
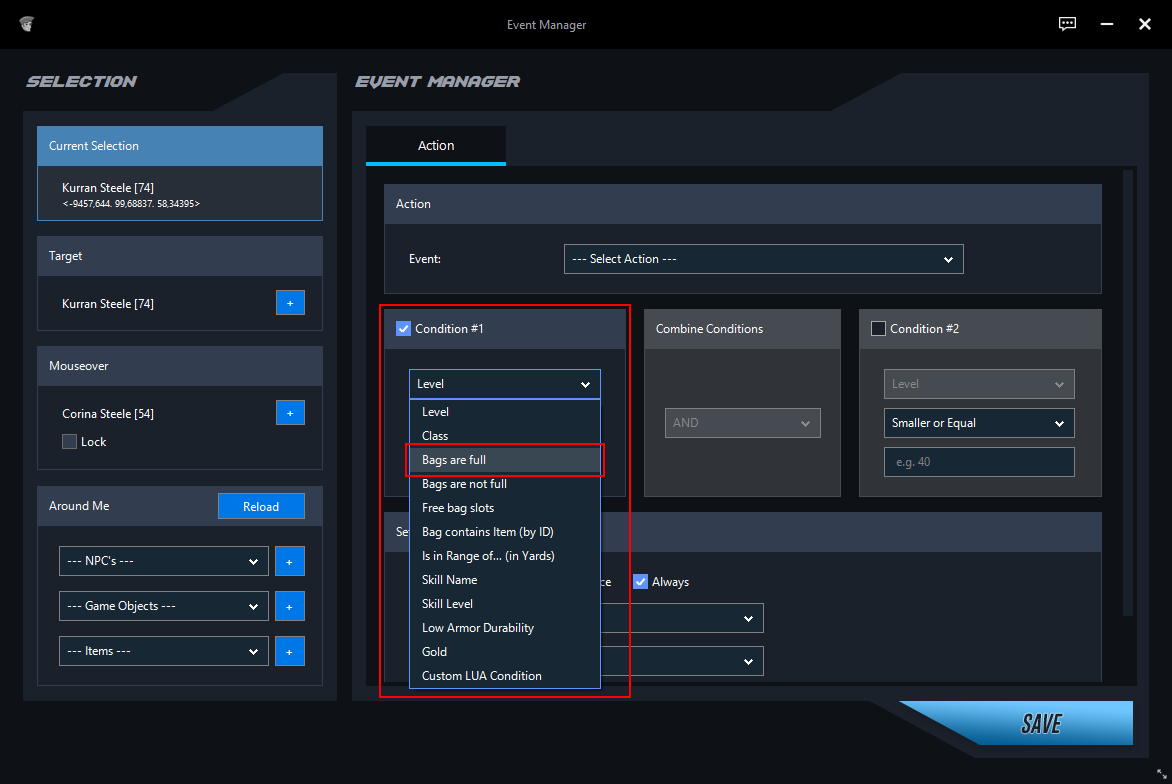
Add the condition "Bags are full".
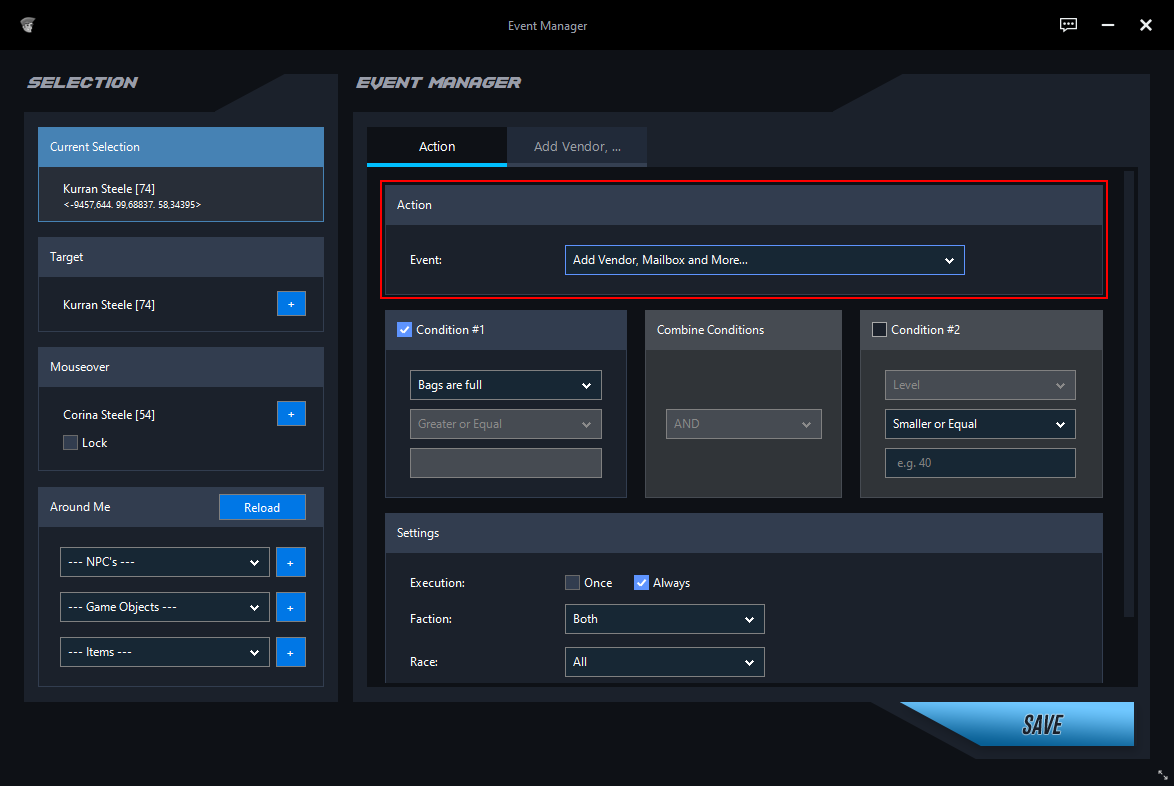
Select the event: "Add Vendor, Mailbox and More...".
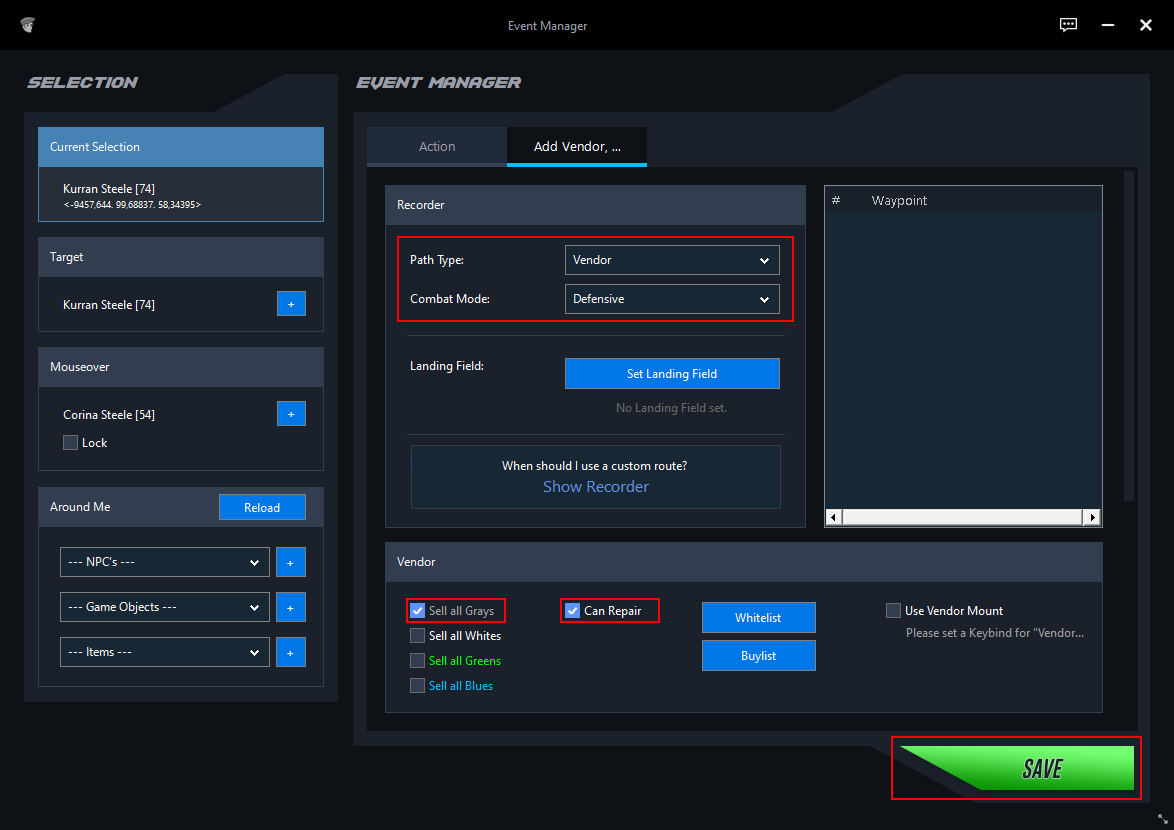
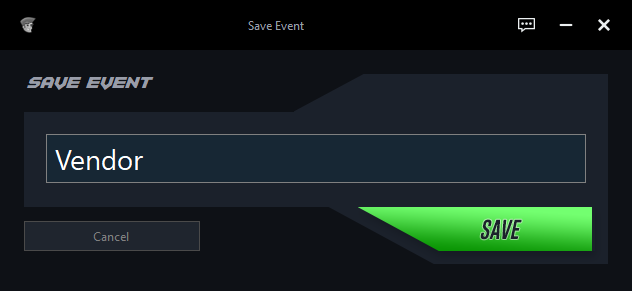
Apply the settings marked in red and save the event by clicking on "Save".
Settings
Select the "Settings" tab.
Apply the settings as shown in the right image.
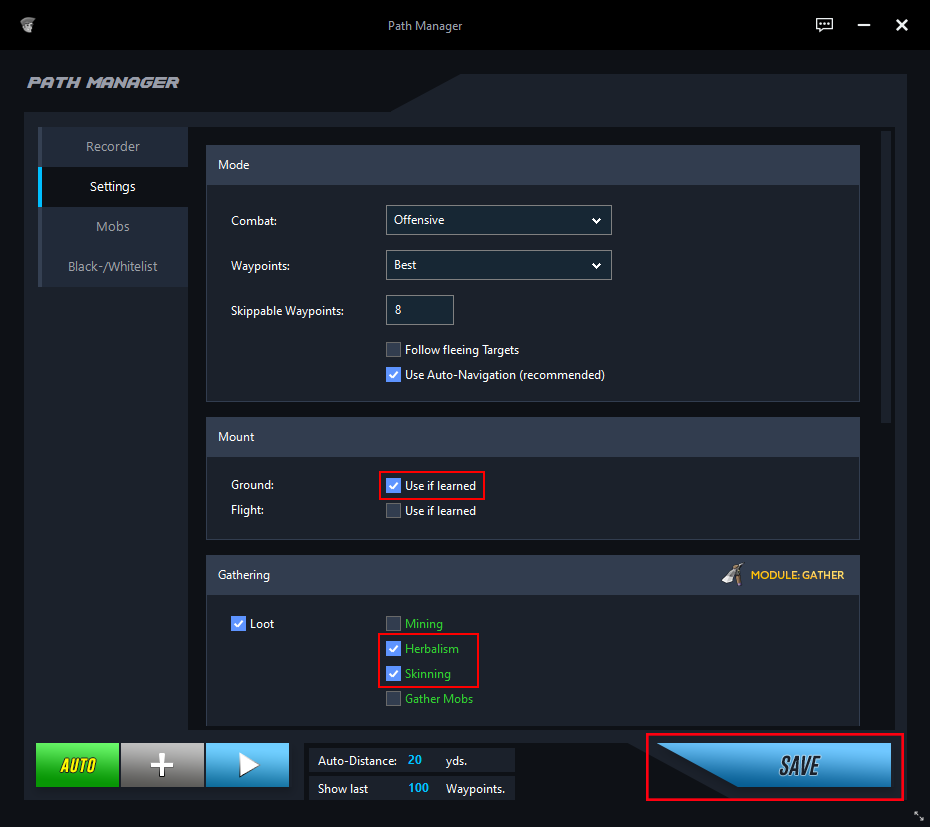
Click on "Save".
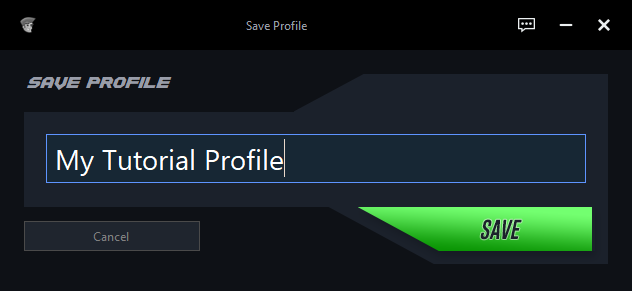
Enter your desired profile name and click on "Save" again.
In our profile we use the mount. So don't forget to place your desired mount in your action bar. More about this here.
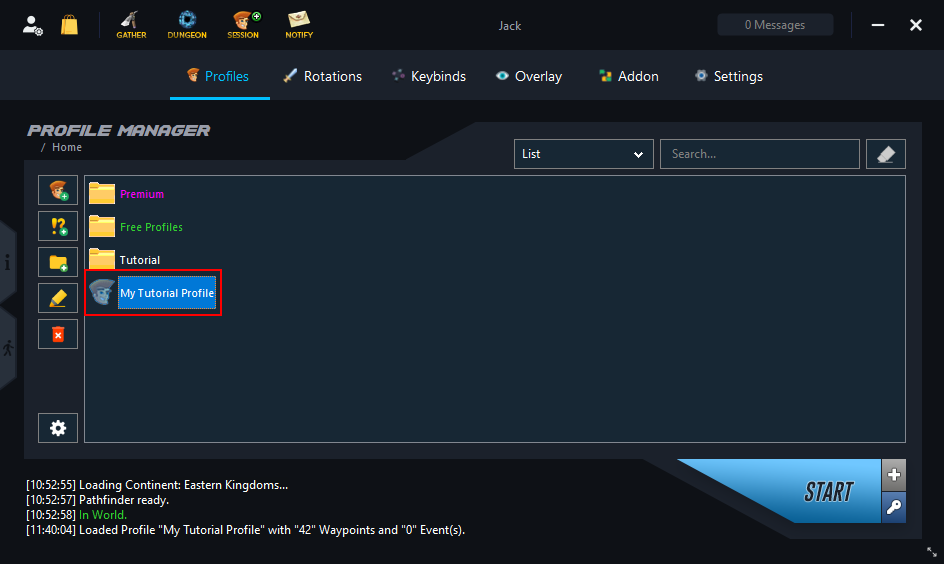
After we have saved the profile, it can now be found preselected in our Profile Manager.
Rotation
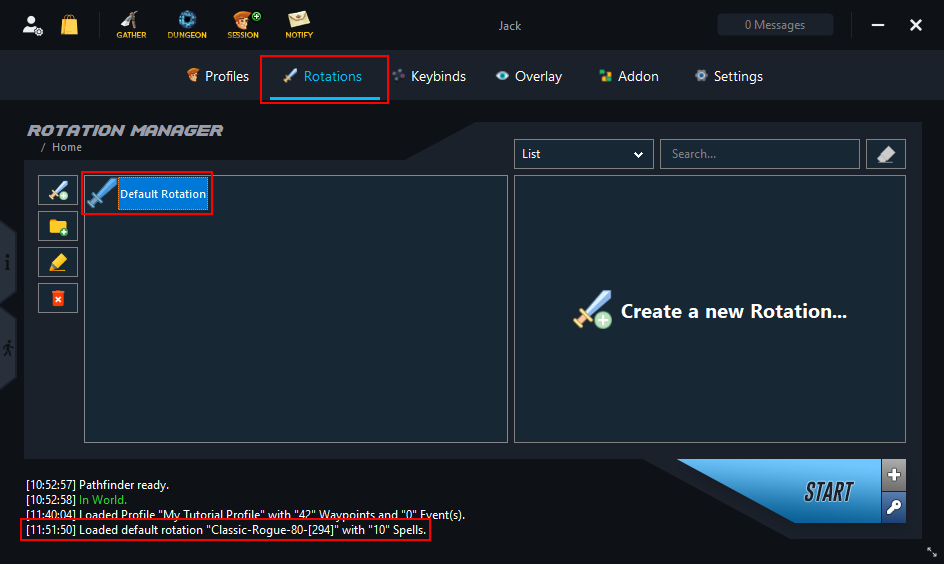
Choose "Rotation" in your main menu.
Select "Default Rotation".
Done 🎉
Click on "Start" to run your profile.
Last updated